Using a Raspberry Pi to track Aircraft
My son is working towards becoming a commercial pilot. I found it really enjoyable to track his flights from time to time using the Automatic Dependent Surveillance-Broadcast (ADS-B) system. ADS-B is the modern method for for monitoring air traffic control. It’s an amazing system. ADS-B works in conjunction with the GPS satellites to broadcast an aircraft’s position, speed and altitude in real time over 978 MHz and 1090 MHz.
What is really cool is that there a number of efforts underway to crowdsource received ADS-B live air traffic and share this openly.
This data can be received on modern computers using a low cost software-defined radio (SDR) device.
I have to tell you, It completely amazes me how far the digital signal processing tech has come since I first started with electronics. This stuff used to only exist in the realm of classified military world. Now you can order countless number of these devices online. They can be as simple as a USB dongle with an antenna connection.
Once the data is collected it can be shared a number of ways. There are commercial services like flightradar24 which make available software you can download onto your Raspberry Pi that will talk to the SDR receivers and automatically upload aircraft information to their network. In return for using your hosting their software on your computer and a little bit of network bandwidth, flightradar24 will upgrade your account with more features.
Another service is ADS-B Exchange which is a open source co-op of ADS-B feeders. They don’t filter the data and make it publicly available for free. They call themselves a group of aviation enthusiasts pooling their feeder data to provide the most complete picture of air traffic possible without the censorship present on the “large, commercial networks”.
Either way the process is very simple. All these services have a Raspberry Pi image you can download and install and all you need to is add a SDR usb device and an appropriate antenna.
Setting up the ADS-B Exchange software.
The process is fairly simple you can add the code to your existing system or even download a preconfigured image you can burn onto an SD card. I personally chose the preconfigured image and then went in and secured the system similar to my existing Raspberry pi recipe. Especially setting up the ssh access and disabling password authentication for public key method.
I built the system headless. Just a basic Raspberry Pi and power supply. So before I plugged the SD card into the Pi, I editing the configuration file at /boot/adsb-config.txt and type in the latitude, longitude and altitude of my antenna. I also gave it a custom name for my feeder.
Sample 1090 single SDR adsb-config.txt:
 LATITUDE=39.113762
 LONGITUDE=-76.726776
 ALTITUDE=1050ft
 USER="some_name"
 DUMP1090=yes
 GAIN=49.6
 AUTOGAIN=yes
 DUMP978=no
 ZEROTIER=no
Hardware setup.
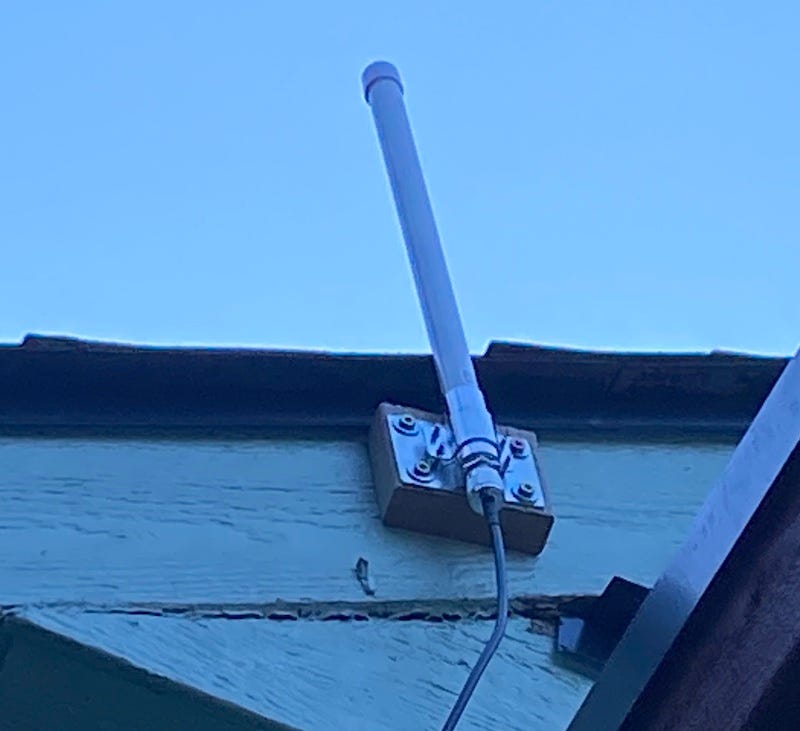
The only additional hardware consisted of a Nooelec NESDR SMArTee v2 SDR. Which cost me about $35.00. and an 1090MHz 978MHz Dual Band ADS-B Antenna for about $45.00. The antenna came with a mount and 10 feet of cable. Took me about 10 minutes to mount outside.
Up and running
I inserted the SD card and booted and an few minutes the system was online. I went through my usual ssh and user setup and even renamed the host. More customization details are available on the adsbexchange site.
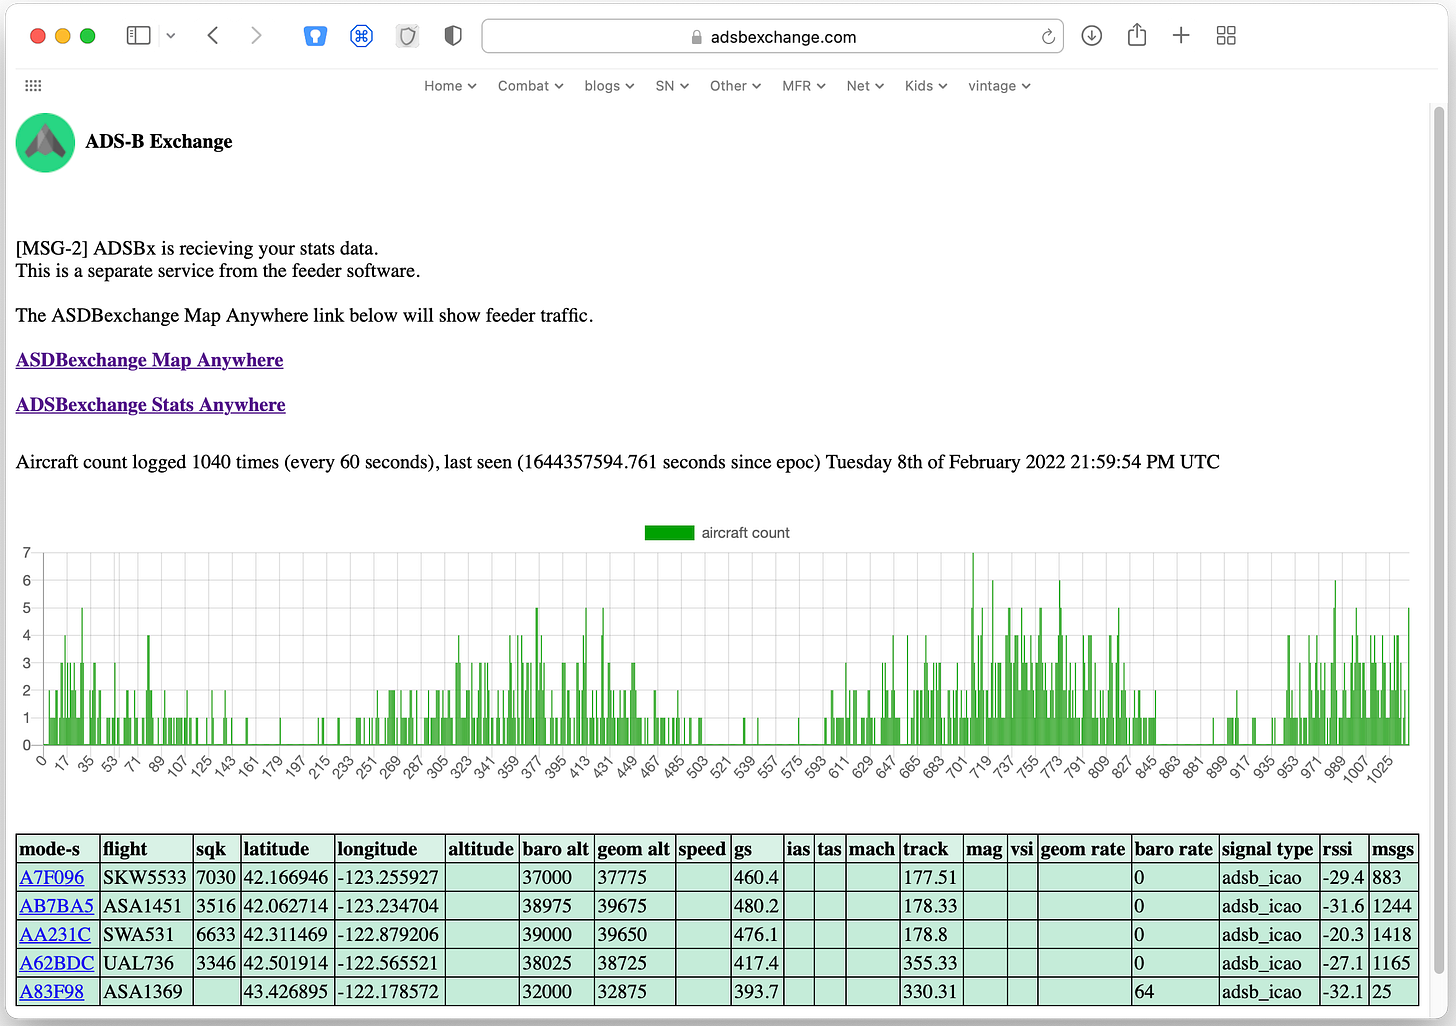
The best way to test if it all works is to ssh into your system and run the command dsbexchange-showurl. This will return you an url you can hand to your browser to check your feeder status.
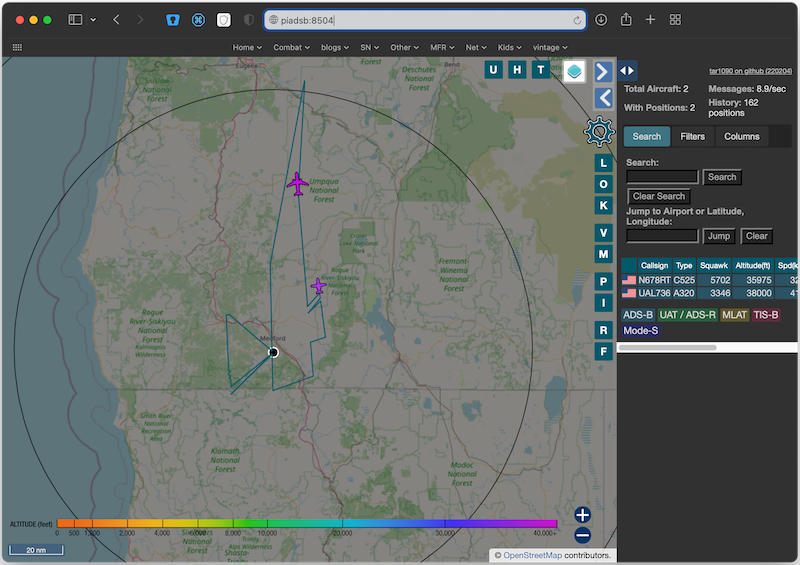
You can also query your device console directly at http://<pi-ip-address>:8504, and see the aircraft overhead.
And there you have it. You are now feeeding crowdsourced ADS-B infomation.
Radio Performance
There are a lot of options in antennas SDR devices. And you could do some research and shop around here. One of the coolest tools though is graphs1090 code which provides you some visual data based on dump1090-tools by mutability and the adsb receiver project graphs.
The graph1090 code was easy to install.
sudo bash -c "$(wget -nv -O - https://github.com/wiedehopf/tar1090/raw/master/install.sh)"The graphs were available to http on port 8542 - http://<pi-ip-address>:8542
Pretty cool stuff.


